Base on Modernizing Your UI for iOS 13 - WWDC 2019 in iOS13 the new way to customise your navigation bar is to use UINavigationBarAppearance. It also gives you more granularity over:
- .scrollEdgeAppearance will be used if your view contains a scrollview and it’s scrolled at the top
- .compactAppearance for iPhone in landscape
- .standardAppearance for the rest
NavigationBar shadow
I’ll suggest to start by defining if you need to show the shadow of the navigation bar or not. Because on iOS13, you use one of these methods which can override your previous customisations.
func customApperance() {
    let navBarAppearance = UINavigationBarAppearance()
    // Will remove the shadow and set background back to clear
    navBarAppearance.configureWithTransparentBackground()

    navBarAppearance.configureWithOpaqueBackground()

    navBarAppearance.configureWithDefaultBackground()
}
One of the cool thing with iOS13 is that now if you have a searchController attached to your navigationItem you can also use this navBarAppearance to remove the shadow! Something that wasn’t as easy (or even possible?) for previous iOS versions.
func customSearchBar() {
        let transparentAppearance = navBarAppearance.copy()
        transparentAppearance.configureWithTransparentBackground()

        navigationItem.searchController = searchController
        searchController.navigationItem.scrollEdgeAppearance = transparentAppearance
    }
NavigationBar background

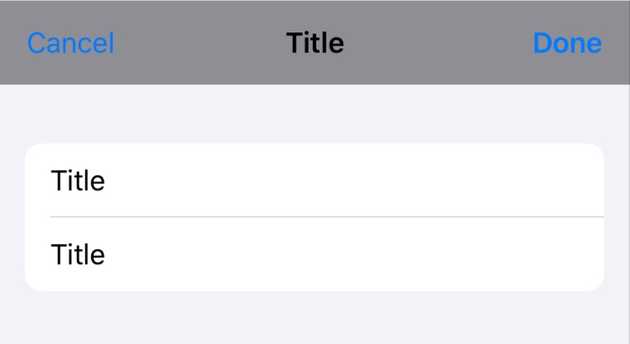
After configuring the appearance, you can now override the background color.
func customBackground() {
    navBarAppearance.backgroundColor = UIColor.systemGray
}
This also works even if you decided previously to call .configureWithTransparentBackground().
Navigation title
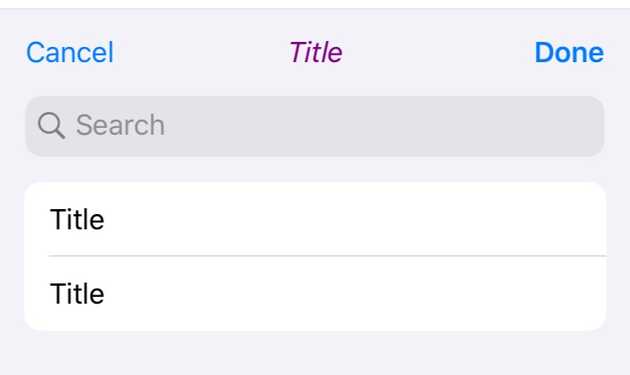
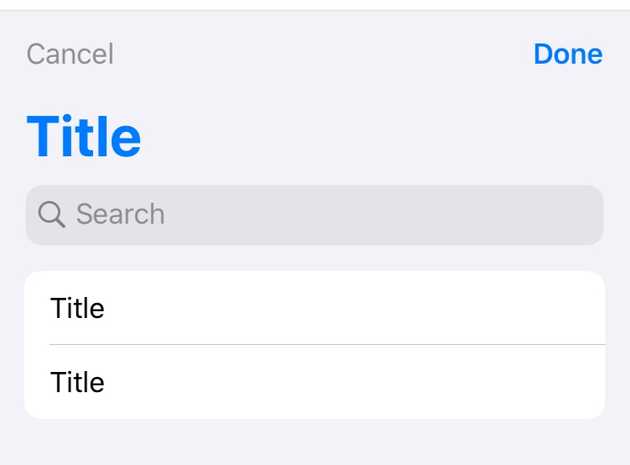
There’s two cases here, either you use a large title or not which results in two different properties to update:
func customNavBarTitle() {
    navBarAppearance.titleTextAttributes = [
        .foregroundColor : UIColor.purple,
        .font : UIFont.italicSystemFont(ofSize: 17)
    ]

    navBarAppearance.largeTitleTextAttributes = [
        .foregroundColor : UIColor.systemBlue,
    ]
}

One note here, it’s good to use a fixed font size and not preferred font size. The navigation bar height doesn’t grow and don’t give more space, this is also the default behaviour anyway.
There is also .titlePositionAdjustment that allows you to vertically and horizontally move the title, which could be useful if you use a custom font.
navBarAppearance.titlePositionAdjustment = UIOffset(horizontal: 0, vertical: 3)Navigation Items

With UINavigationBarAppearance you can also individually customise the navigation bar button items appearance using UIBarButtonItemAppearance.
func customBarButtonItems() {
    let buttonAppearance = UIBarButtonItemAppearance()
    buttonAppearance.normal.titleTextAttributes = [.foregroundColor : UIColor.darkGray]
    navBarAppearance.buttonAppearance = buttonAppearance
}
There is a granularity for each bar button type:
navBarAppearance.doneButtonAppearance
navBarAppearance.backButtonAppearance
Remember that by default, the done button is bolded to emphasize on the main action to take!
Everything together
func customizeNavigationBar() {
    navigationItem.setLeftBarButton(.init(barButtonSystemItem: .cancel, target: nil, action: nil), animated: true)
    navigationItem.setRightBarButton(.init(barButtonSystemItem: .done, target: nil, action: nil), animated: true)

    navigationItem.searchController = searchController

    let navBarAppearance = UINavigationBarAppearance()

    // Call this first otherwise it will override your customizations
    navBarAppearance.configureWithDefaultBackground()

    let buttonAppearance = UIBarButtonItemAppearance()
    let titleTextAttributes = [NSAttributedString.Key.foregroundColor : UIColor.systemGray]
    buttonAppearance.normal.titleTextAttributes = titleTextAttributes

    navBarAppearance.titleTextAttributes = [
        .foregroundColor : UIColor.purple, // Navigation bar title color
        .font : UIFont.italicSystemFont(ofSize: 17) // Navigation bar title font
    ]

    navBarAppearance.largeTitleTextAttributes = [
        .foregroundColor : UIColor.systemBlue, // Navigation bar title color
    ]

    // appearance.backgroundColor = UIColor.systemGray // Navigation bar bg color
    // appearance.titlePositionAdjustment = UIOffset(horizontal: 0, vertical: 8) // Only works on non large title

    let transNavBarAppearance = navBarAppearance.copy()
    transNavBarAppearance.configureWithTransparentBackground()
    navigationController?.navigationBar.standardAppearance = navBarAppearance
    navigationController?.navigationBar.compactAppearance = navBarAppearance
    navigationController?.navigationBar.scrollEdgeAppearance = transNavBarAppearance

    searchController.navigationItem.standardAppearance = navBarAppearance
    searchController.navigationItem.compactAppearance = navBarAppearance
    searchController.navigationItem.scrollEdgeAppearance = transNavBarAppearance

    title = "Title"

    navigationController?.navigationBar.prefersLargeTitles = true // Activate large title
}